
In Chapter 1 we will not use a virtual environment in order to simplify installation of Jupyter for a quick start. However for more advanced users there are many advantages to the virtual environment installation described in Chapter 2. It is an isolated environment that allows you to manage dependencies for a specific project without affecting other projects. A directory is created which isolates the environment. All programs in this book run the same. All programs in this manual run the same whether the installation is from Chapter 1 or Chapter 2 or Chapter 3.
In the first edition of this manual we used PyCharm as the programming interface. PyCharm Community has been discontinued. PyCharm professional remains available. For this reason we used Jupyter Lab programming interface in this second edition. Jupyter is easy to install and easy to use.
IMPORTANT NOTE: The installation instructions in the first three chapters change from month to month. The most up to date installation instructions are provided in the author's website at www.salarsen.com. Once the installation of Python and Jupyter is complete the remainder of the manual will apply regardless of the installation method.
1.1.1 First we must install Python, then we will install the Jupyter programming interface. System requirements are 8GB RAM.
1.1.2 Search Google or Bing for python.org. Click on Downloads. (OR Navigate to Python Releases for Windows. Select Windows Installer(64-bit) to start download.) Click Open file in the download box on your computer. The application file will open.
1.1.3 Check the box Add Python to PATH. Click on Install Now. Follow the prompts. Click on Disable path length limit. Select Close.
1.1.4 Next open the Start menu on your computer. Look for the Python icon. Click on the IDLE tab. Type print("Hello World") at the command line. Press Enter and Hello World will appear. Python is working.
1.1.5 Open the Windows command prompt by typing cmd in the Search bar. Type python --version and press Enter. The python version will appear. Python from the cmd prompt is working.
1.2.1 Next we will install the Jupyter programming interface. This is where we will write and run the Python code. Open a command prompt with cmd in the search bar. Check for pip version. If present continue installation to 1.2.3.
pip --version
1.2.2 Ensure pip is installed and updated by running (if necessary):
python -m pip install –-upgrade pip
1.2.3 Install Jupyter Lab by running:
pip install jupyterlab
1.2.4 Install commonly used libraries for data science:
pip install numpy pandas matplotlib seaborn scikit-learn scipy
1.2.5 Launch Jupyter Lab by typing:
jupyter lab
1.2.6 The Jupyter Lab interface will be displayed in your web browser.
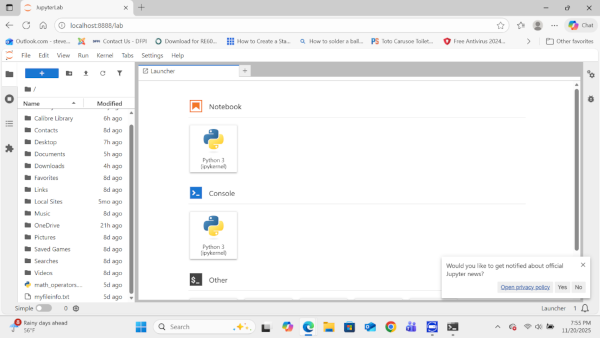
1.2.7 Navigate to File->New->Notebook. The Jupyter notebook programming interface page will open. Click on an open cell and type:
print("Hello World")

1.2.8 Activate the cell and press Run. (Run is the small triangle.) This completes your first test program.
Hello World
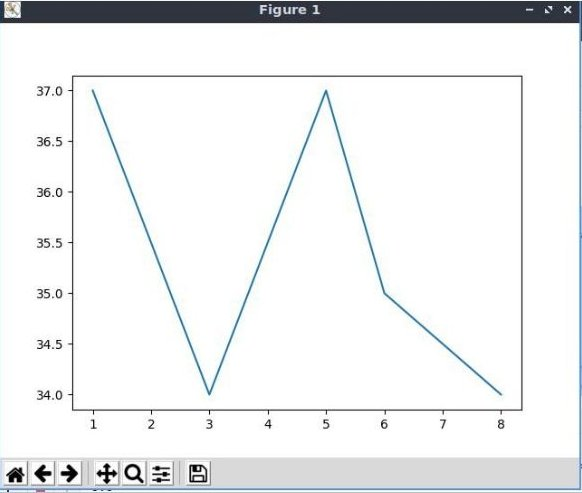
1.2.9 Enter the following plotting program. Run it.
# A simple plotting program

      # import matplotlib to plot graphs, and numpy for arrays

      import matplotlib.pyplot as plt

      import numpy as np

      days = [1,3,5,6,8,]

      temp = [37,34,37,35,34]

      plt.plot(days, temp)

      plt.show()
1.2.10 If you make a mistake entering the program, there could be an error message in the cell below the program code. Simply right click on the error message cell, and select Clear Cell Output from the drop-down menu. Make corrections to your code and run it again.
SALARSEN.COM
Windows11 Simple Install
Windows11 Virtual Install
Ubuntu Virtual Install
Using Jupyter
