
There are many programming interfaces to choose from. Any will work. We use the Jupyter Lab interface in this manual. After installation of Python and the interface, all programs will run the same.
3.1.1 We will use the command line to install Python and Jupyter Lab on Ubuntu.
3.1.2 The following command refreshes our system's package index, and then upgrades all installed packages to their latest versions.
sudo apt update && sudo apt upgrade
3.1.3 Check to see if Python is already installed.
python3 --version
3.1.4 If it is not installed, or you need a newer version, install Python with the following command:
sudo apt install python3
3.2.1 Ubuntu requires the creation of a virtual environment. A virtual environment holds our project's Python interpreter and any necessary packages. It is a self contained directory.
3.2.2 First, see whether the virtualenv package is already available on your system:
virtualenv –-version
3.2.3 Install the virtualenv packages.
sudo apt install python3-virtualenv
sudo apt install python3.10-venv
3.2.4 Now that the virtualenv package is installed, create an environment called myenv. (We can call the environment any name we wish.)
python3 -m venv myenv
3.2.5 Activate myenv with the source command. (Remember to use your environment name instead of myenv if you used a different name.)
source myenv/bin/activate
3.2.6 Upon activation the prompt will change to the following. Your prompt will be preceeded with the tag (myenv). The prompt will look like the following. This is how you know you are in the virtual environment.
(myenv) steve@ubuntu-linux:~$
3.2.7 While in your virtual environment, install Jupyter.
pip install jupyterlab
3.2.8 While in your virtual environment, install the libraries you will need to run the programs in Python. The following are commonly used for data science.
pip install numpy pandas matplotlib seaborn scikit-learn scipy
3.2.9 While still in your virtual environment, start Jupyter.
jupyter lab
3.2.10 The Jupyter Lab interface will be displayed in your web browser.
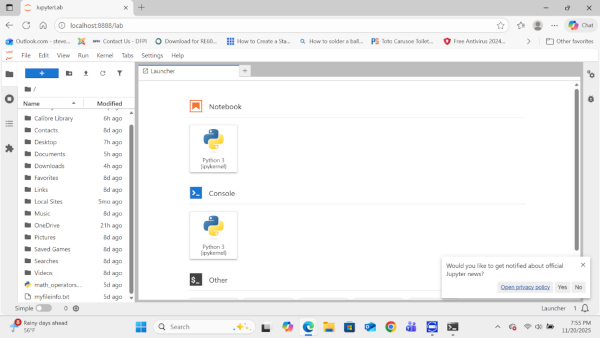
3.2.11 Navigate to File->New->Notebook. The Jupyter notebook programming interface page will open. Click on an open cell and type:
print("Hello World")

3.2.12 Activate the cell and press Run. (Run is the small triangle.) This completes your first test program.
Hello World
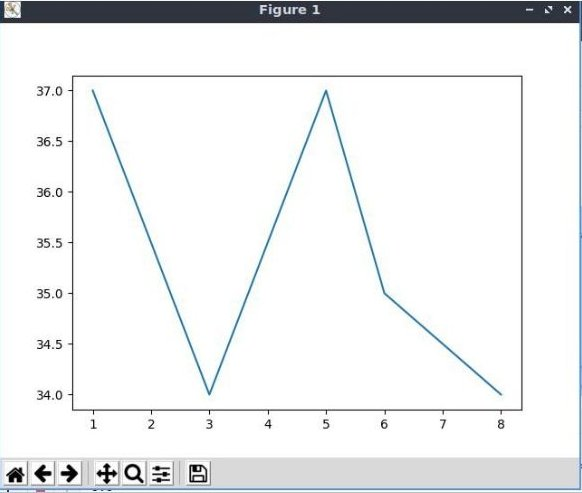
3.2.13 Enter the following plotting program. Run it.
# A simple plotting program

      # import matplotlib to plot graphs, and numpy for arrays

      import matplotlib.pyplot as plt

      import numpy as np

      days = [1,3,5,6,8,]

      temp = [37,34,37,35,34]

      plt.plot(days, temp)

      plt.show()
3.2.14 If you make a mistake entering the program, there could be an error message in the cell below the program code. Simply right click on the error message cell, and select Clear Cell Output from the drop-down menu. Make corrections to your code and run it again.
3.2.15 To deactivate the virtual environment at your command line, simply enter:
deactivate
3.3.1 Finding virtual environments. The following command will help you find where virtual environment files are stored on your computer. (Deactivate your virtual environment before using this command.)
find ~ -name "bin" -exec grep -l "deactivate" {} \;
Sort through the results to find your virtual environment files.
3.3.2 Deleting virtual environments. Change to directory in the virtual environment path.
cd /path/to/your/project
List the files and directories.
ls
Remove the virtual environment directory.
rm -rf venv_name
SALARSEN.COM
Windows11 Simple Install
Windows11 Virtual Install
Ubuntu Virtual Install
Using Jupyter
